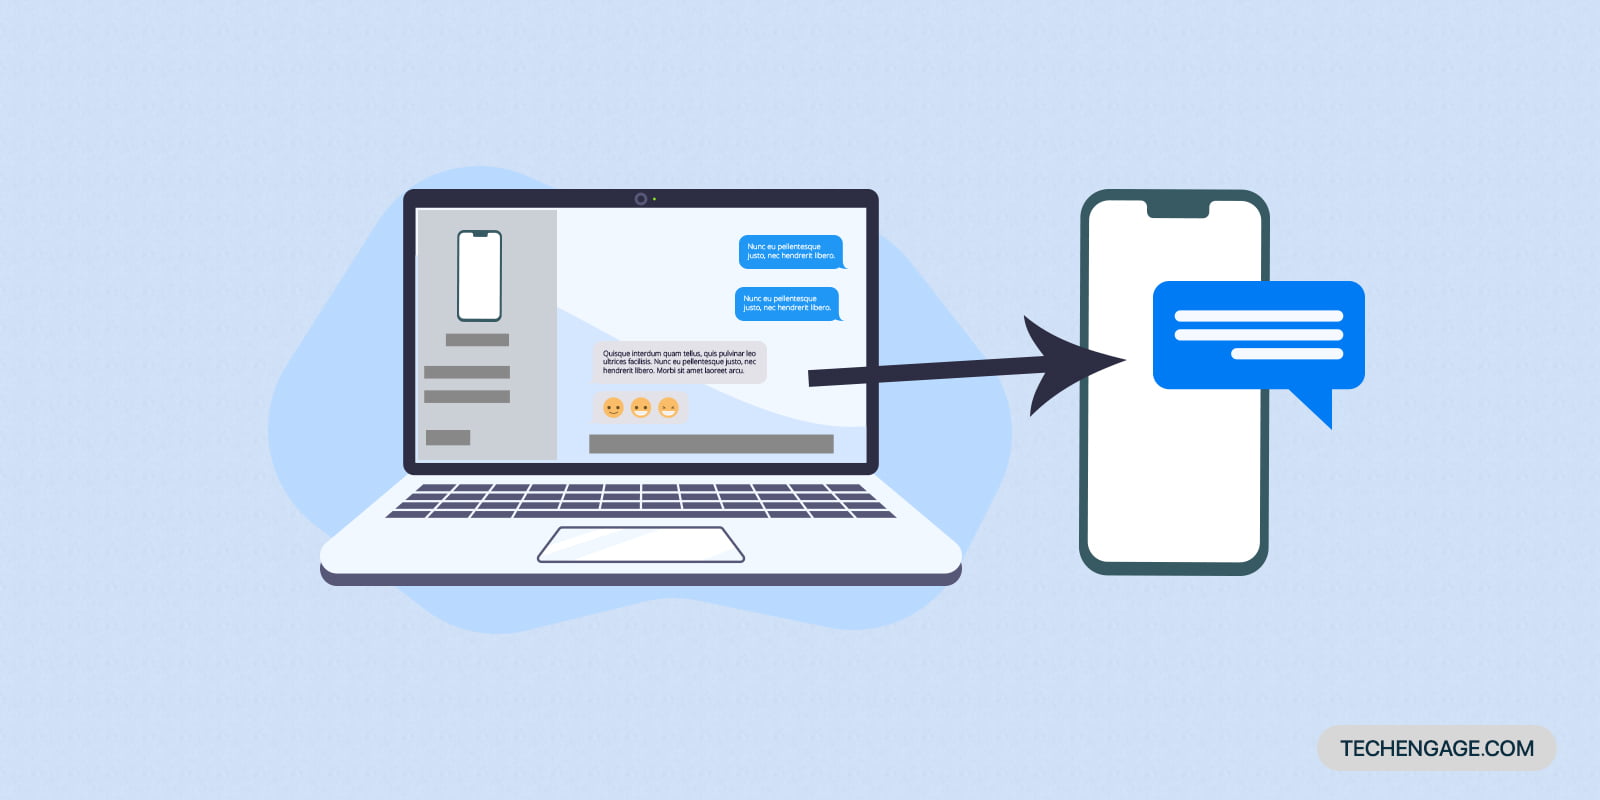
No one enjoys being interrupted by phone notifications while working on a laptop or PC, especially if your phone is far away and you don’t feel like moving to pick it up and reply. Constant notifications can cause huge productivity loss, which probably not everyone can afford, especially when working. If you are also looking for a way around for getting rid of this seemingly less but actually painstaking disturbance, this guide is for you.
Windows PC already has a solution to this problem. Let’s dive inside this step-by-step guide to know actually what you need to do for sending texts from Windows 10 laptop or PC.
Method 1: Using ‘Your Phone’ app by Microsoft
Your Phone Companion app lets you send and receive messages on Windows 10. The app is available for both Android and Windows.
Setup ‘Your Phone’ on the laptop or PC
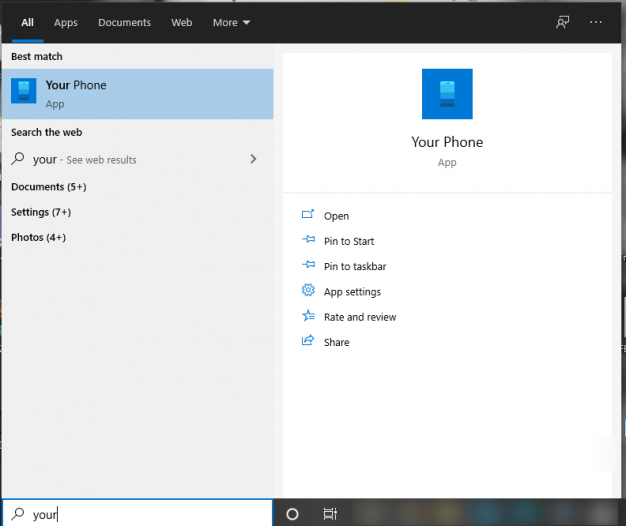
- Find ‘Your Phone’ app: Bring the cursor to the search bar in the taskbar menu. Type ‘your phone,’ and you will eventually be confronted with the suggestion of the Your Phone app.
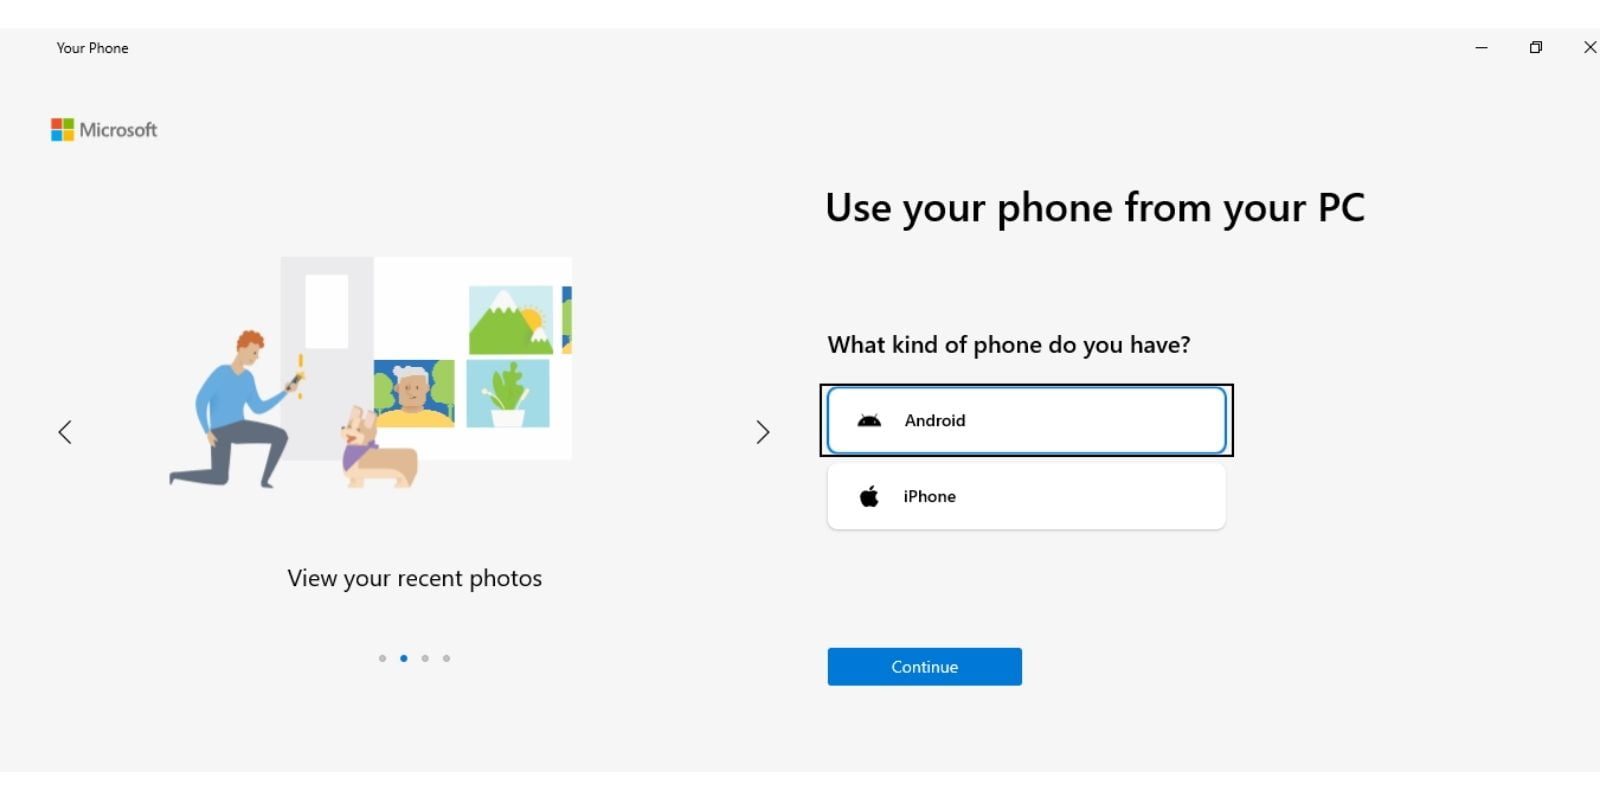
- Select your phone OS: Choose which phone you are using from the options of Android and iPhone.
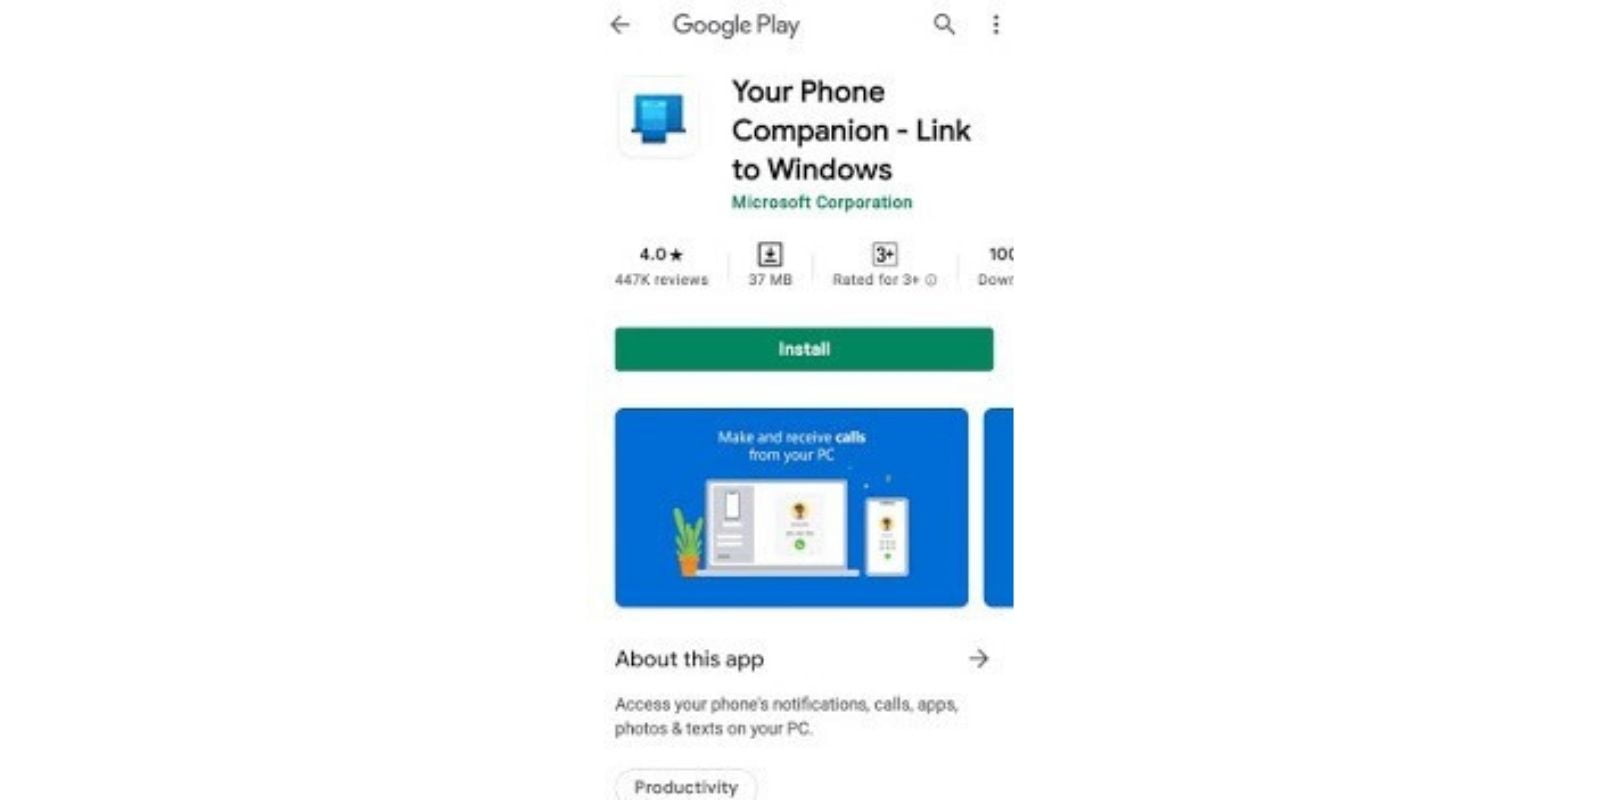
- Install Your Phone app: Now, you need to install the “Your Phone Companion” app on the phone using the Play Store.
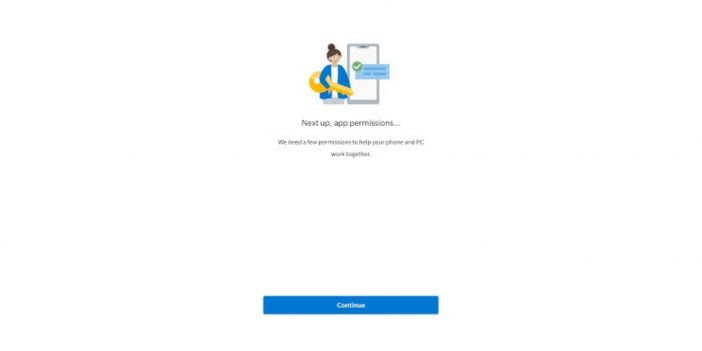
- Give permissions: On the phone, while installing, you need to log in to your Microsoft account. After sign in, allow the required app permissions to get started.
How to send a message from Windows 10 using Your Phone App:
If you haven’t already set up messages, learn how to send a new message from your PC:
- On your PC, in the Your Phone app, select Messages.
- To start a new conversation, select New message.
- Enter the name or phone number of a contact.
- Select the person you want to send a message to. A new message thread opens for you to begin with.
Method 2: Send & receive texts from Windows 10 with Pushbullet
Besides the method mentioned above, users can also go for another third-party app, i.e., Pushbullet.
Users need to install the Pushbullet application on both devices, i.e., PC and phone. On PC, the Chrome extension is also available.
- Install Pushbullet from Chrome Webstore here.
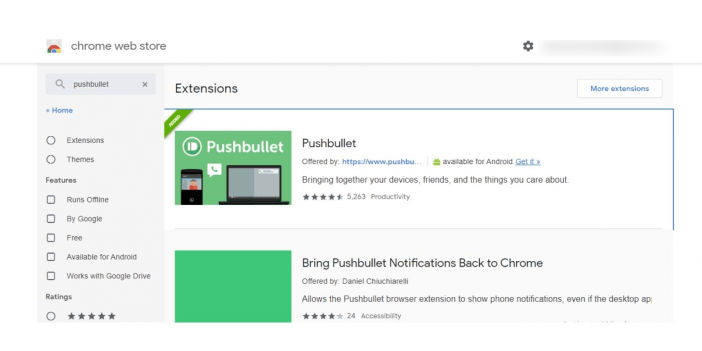
- After installation is complete, set up a Pushbullet account.
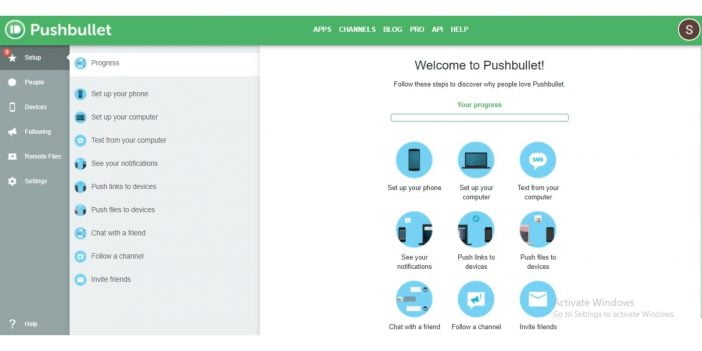
- Add the email of your friend or colleague to interact on Pushbullet.
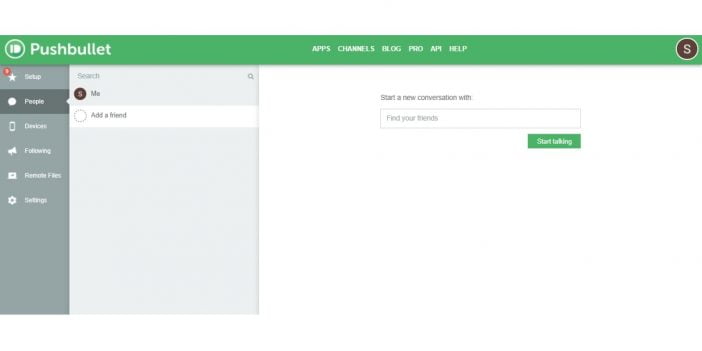
- You can also set up notification push from the settings and mirror message notifications from your Android phone.
- For this, you will have to install Pushbullet on your PC as well, which you can do from here.
- After installation is complete, you can now send and receive text messages, WhatsApp messages, and messages from other apps.
These were two ways to send and receive messages on Windows for free. However, few features in Pushbullet are premium and require a subscription. You can use either Pushbullet or Your Phone app to make this possible and enhance your work focus.
Method 3: Using Web version of apps like WhatsApp, Telegram
You can also send messages using WhatsApp web and web versions of apps like Telegram, Android Messages, and their desktop apps. Signal also offers Windows, macOS, and Linux software; hence you can download Signal on your notebook as well. Pairing your phone with web or their desktop versions, you can send and receive messages from your laptop or PC.
There is another method that is exclusive to iOS and macOS only and works like a charm. Using iMessage, you can send and receive messages from your Mac and iOS seamlessly. Here is how:
Method 4: Send and receive texts on macOS/iOS
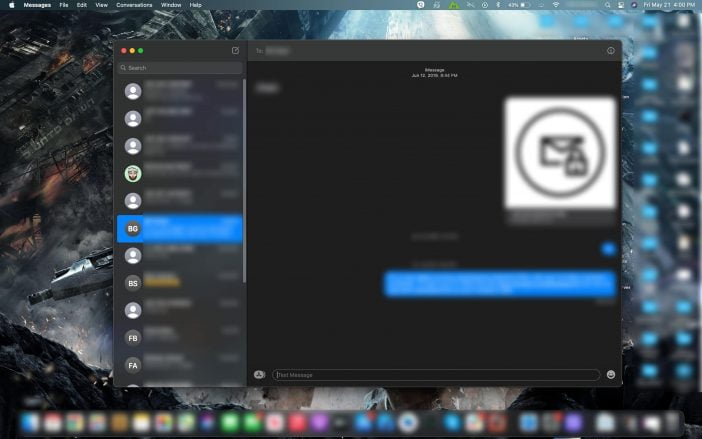
- Select Messages by clicking the blue speech bubble icon in the Dock at the bottom of the screen, or type Messages in the search bar by pressing CMD + Space bar while typing a message.
- The Apple ID associated with your iPhone is required to sign in.
- You can add new messages by clicking the square icon next to the Search field.
- Enter the phone number or email address of the contact you wish to contact in the To box (the email address you enter should be the one they used to send an iMessage) and press enter.
- You may also add people from your Contacts file by using + sign if your Mac is synced with your Contacts file.
- A blue box will appear around the friend’s number if they have an iPhone. They will receive your text as an iMessage, which would be sent via Apple’s servers.
What if your friend does not have an iPhone?
When you add your friend’s phone number to the To: field, it may get a red box if they have a different type of phone.
This means their phone isn’t set up to receive iMessages. If you try to send a text message, you’ll get an error message that says, “Your message could not be received.”
However, this does not preclude you from texting them. All you have to do now is set up your Mac to send messages to your iPhone.
- Make sure your Mac and iPhone are both signed in to iCloud with the same Apple ID.
- Go to System Preferences > iCloud on your Mac and sign in with your Apple credentials.
- Check that the Apple ID account you’re using on your iPhone is the same. To access iCloud, go to Settings > iCloud.
- On your Mac, open Messages.
- On your iPhone, go to Settings > Messages and tap Text Messages Forwarding.
- Your Mac (or Macs) will be identified here with an on/off slider next to them. Set the slider to green to enable your Mac to send and receive text messages.
- You’ll see a message instructing you to enter the code shown on your Mac in order to send and receive iPhone text messages on your Mac.
- Wait for the system to be checked after entering the number.
When you add a non-iPhone phone number, a green box will appear to signify that you are sending a text message.
Your friend will receive a regular text message, which will be counted against your text message limit under your cell phone contract since it was routed through your iPhone.



Share Your Thoughts